What is an Arrangement Studio?
With this functionality, you can take the music you’ve created in the studio and explore even greater depths of composition and arrangement. arrangement studio allows users to control specifics of the arrangement such as intro, verse, drop, chorus, outro, bridge etc. This allows users to have more finer control of the generated composition. Users can drag and drop/ add the snippets into this tab. They can additionally easily move, extend, and delete sections such as chorus or outro. “Since Arrangement Studio works best with looping audios, make sure to turn the loop on before generating music.”Quick Guide to Arrangement Studio!
Introducing the Arrangement Studio in Soundverse provides users with a dynamic platform for taking their audio creations to the next level. This feature allows you to seamlessly arrange the audio segments you’ve generated, unlocking a world of creative possibilities. Within this view, individual audio segments align vertically to create cohesive sections. You have the power to arrange, manipulate, and refine your audio by simply dragging and dropping elements, making it easy to structure your composition as you see fit. You can extend your audio by copying and pasting segments to craft a longer composition or adjust the speed with precision using the BPM control. With a host of additional control options at your fingertips, the Arrangement Studio in Soundverse empowers you to sculpt your audio into the desired outcome with ease and flexibility.Log in to Soundverse Studio
Login to Soundverse with your credentials or directly login through a Google account, Instagram or Spotify.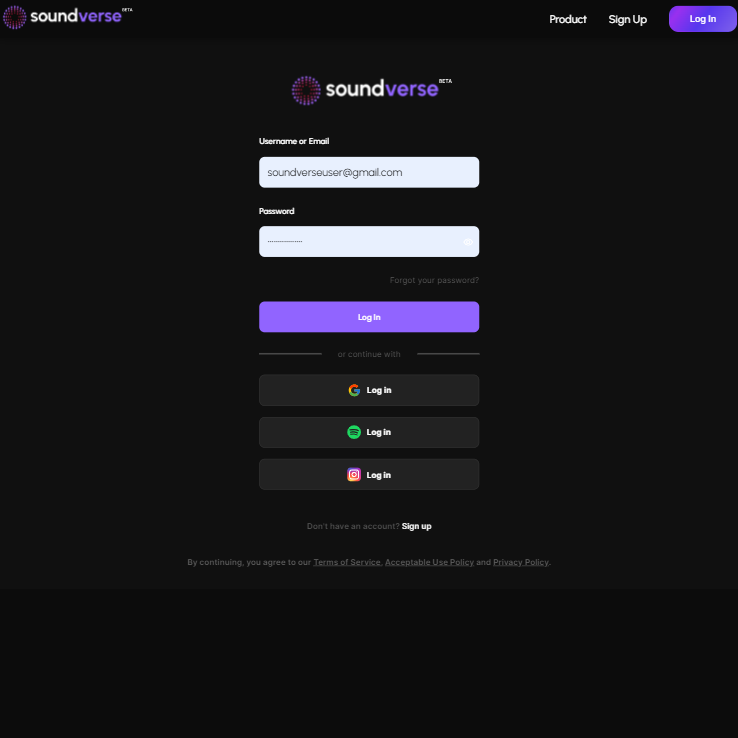
Craft a prompt
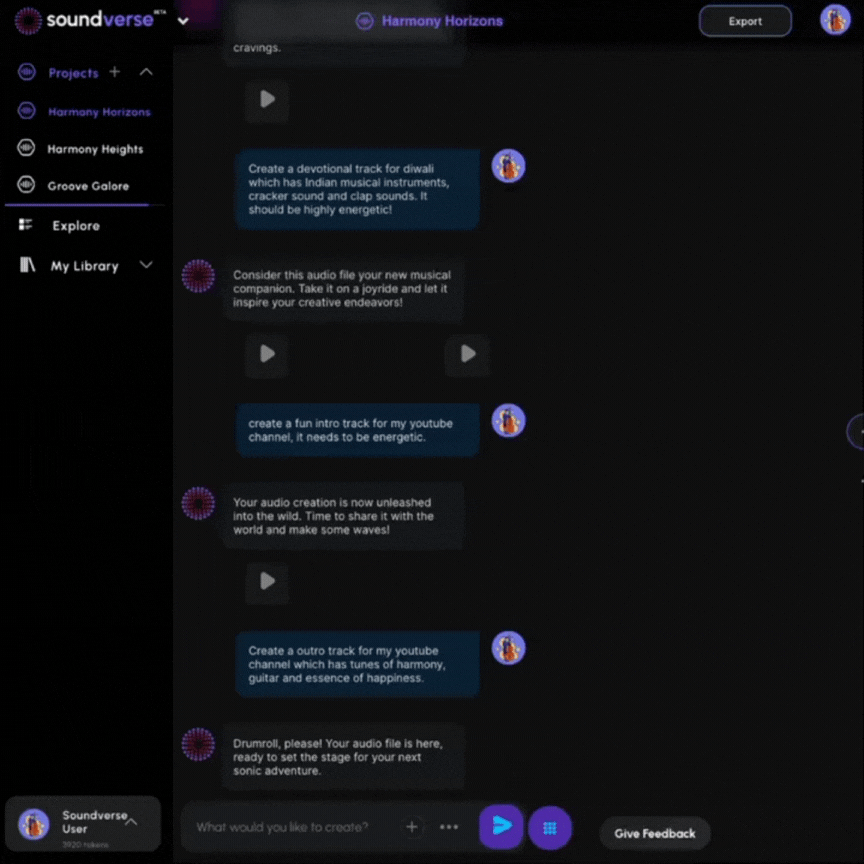
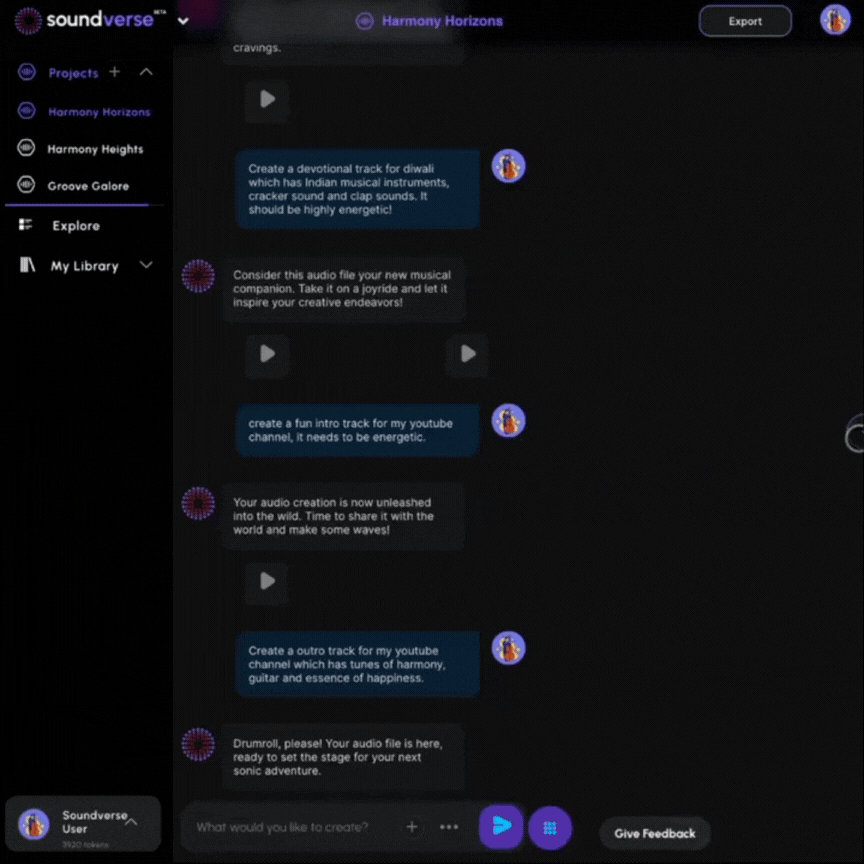
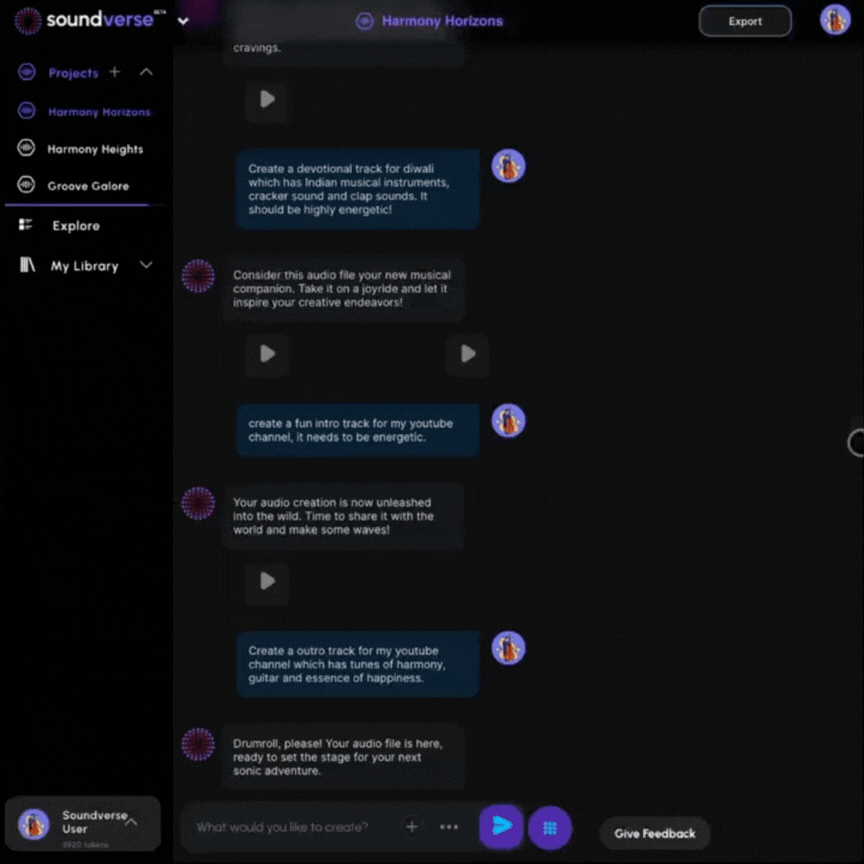
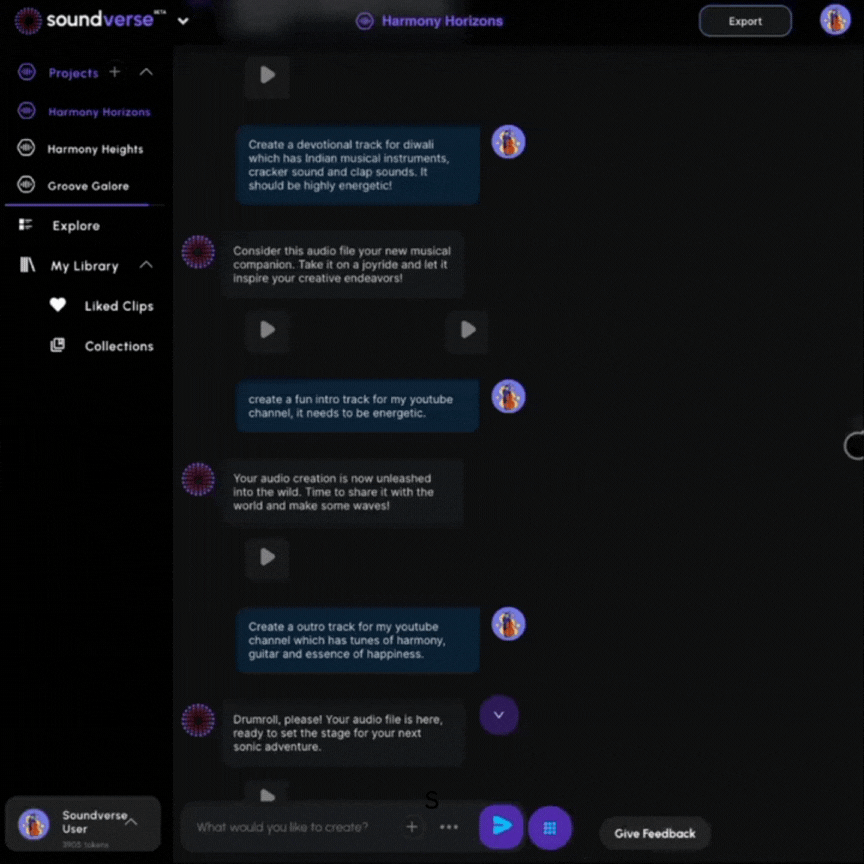
Craft a perfect prompt to be given as the input to the Soundverse assistant. In order to get the desired audio, provide an elaborative prompt to the assistant. Example:- Craft a modern hard rock song with a ‘powerful’ and ‘high-energy’ vibe. Feature roaring electric guitars, pounding drums, and a fast tempo. This track should be perfect for pumping up the adrenaline.
- Generate an electronic dance music (EDM) composition with a ‘hypnotic’ and ‘uplifting’ feel. Employ synthesizers, a pounding bassline, and a brisk tempo. Create a track that’s sure to get the party started on the dancefloor.
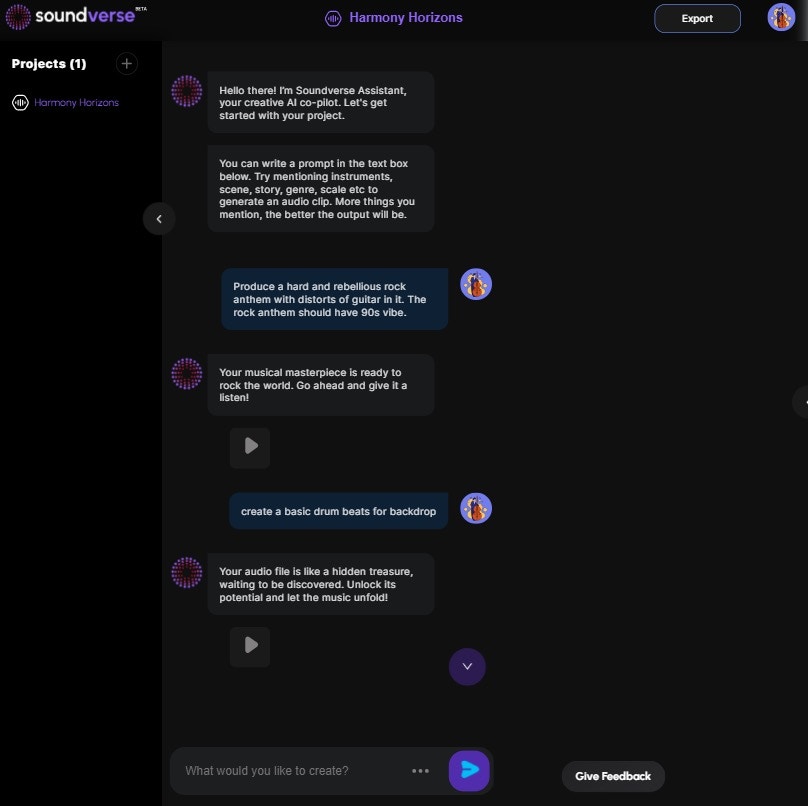
Generate Audio
Type in the perfect prompt and then click on the send button to generate the audio. You can click on the options, present at the left of the send button to select the duration, loop etc. (Directly turn on loop) Create multiple audios using the same process. Note: We recommend turning ON the loop because if the loop is off, there is no point in adding it to the arrangement. Because technically everything that is going on here is repeatable. (Turning loop on necessity)Open Arrangement studio
Where do you find the Arrangement studio? It’s quite easy! Click on the send button on the right of the Soundverse studio to open Arrangement Studio and it automatically expands. You can also access the arrangement studio by clicking on the grid button which is next to the send button.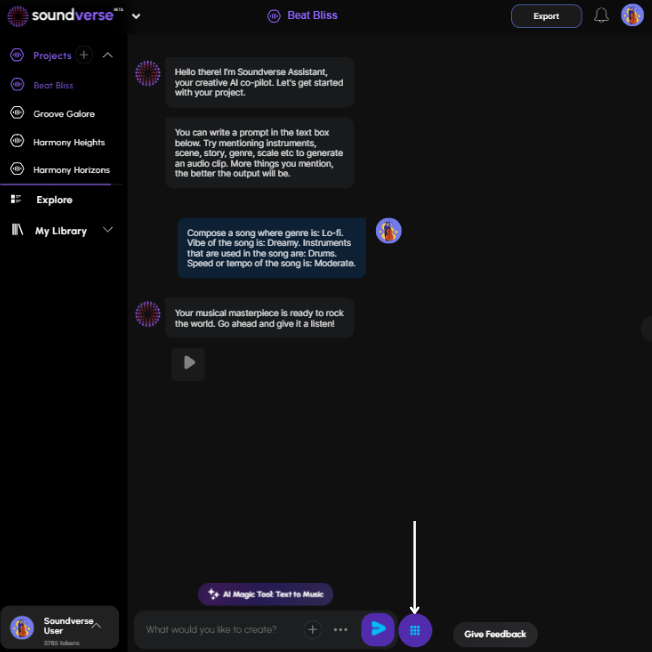
Move the audios to the Arrangement studio
- Once you have generated the audios, add them to Arrangement Studio to compose the final track. (manually arrange the audio)
- To move the audio to the Arrangement studio, click on the options on the right side of the audio play button. then click on add to arrangement.
- You can also go to arrangement studio cell menu options (by hovering mouse over cell) and tap upload. This way you can upload a file from your local drive.
Sections
The audio which you have added in Arrangement Studio will automatically show up under the section. Sections are stacks of cells and they move from left to right. You can even shift your audio by copy-pasting it to a different section and playing with it. Sections can be renamed and you can also move it multiple times. You can even download or delete the entire stack or section. In this way, you can create multiple sections and add customised audio to them to get the desired result. The child cells are movable i.e. you can just drag and drop the cells and add them to some different section altogether.Section settings
Click on the options present on the right side of the play button of the parent cell of the section to open the section settings.- Repeat: The best part is that you can even repeat the whole section up to as many times as you want. Just click on the options available on the play button of the parent cell, click on repeat and select the times you want the audio to get repeated
- Rename: Sections can also be renamed as per your convenience and get them easier to navigate.
- Download: Sections can be downloaded in the form of an MP3 file, click on the download button in the section settings and the audio will get downloaded in MP3 format.
- Delete: Click on the delete option to delete the whole section in a go.
Child cell settings
Click on the options present at the right side of the child cell to open the child cell settings.- Clip settings: Click on the options present at the right side of the play button of the child cell. In the clip settings, you can optimize the tempo of the audio. You could enter the value of the BPM you would want for that particular audio.
- Mute: If you do not want any of the child cells to NOT get played
- Download: The audio of the child’s cell can be downloaded in the form of an MP3 file, click on the download button in the section settings and the audio will get downloaded in MP3 format.
- Copy/Paste: You can copy the cell and paste it to move it to some other section of your choice. Delete: Click the delete option to simply delete the cell from the section.
Recording your voice
You can also add your voice seamlessly in the arrangement studio. You simply click on the mic button, and it will ask for permission to allow recording on the top left and you need to allow it. Then you can start recording and click on the mic button again to stop the recording. You can also copy and paste your voice in different sections. (Recommend using headphones)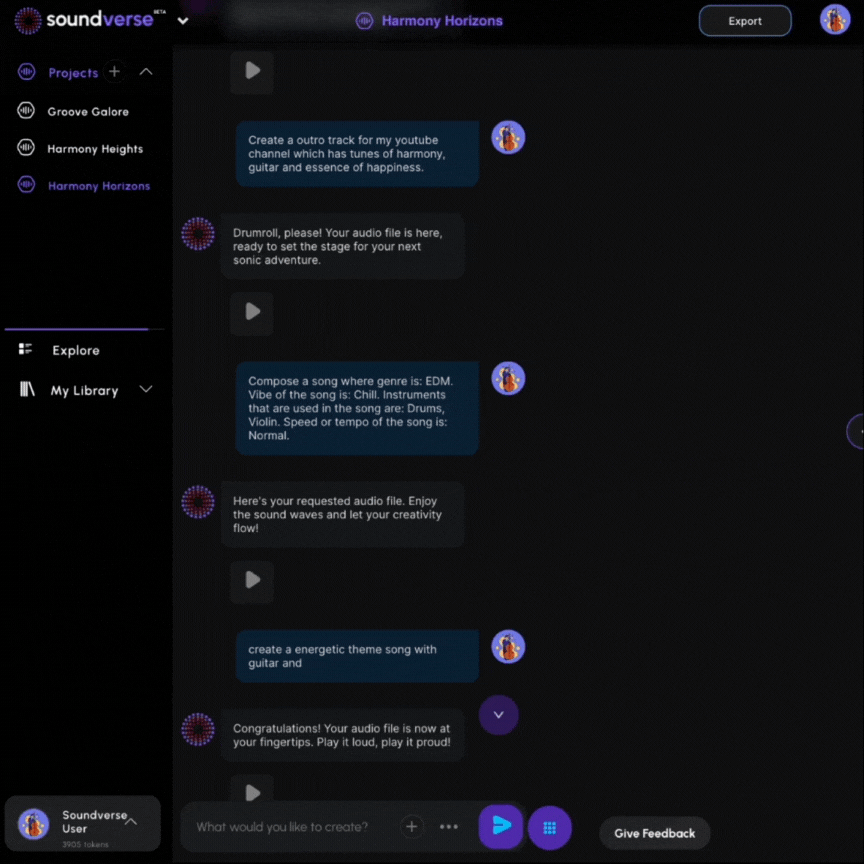
Exporting the audios
Once you’re done, you can click on the export button on the top right and export the file as WAV or MP3. Hence, will export the audio file and you will get it.
Terminology
Section: A section is the top row of a stack that accumulates all the stacks. When a section is played, it plays the whole stack.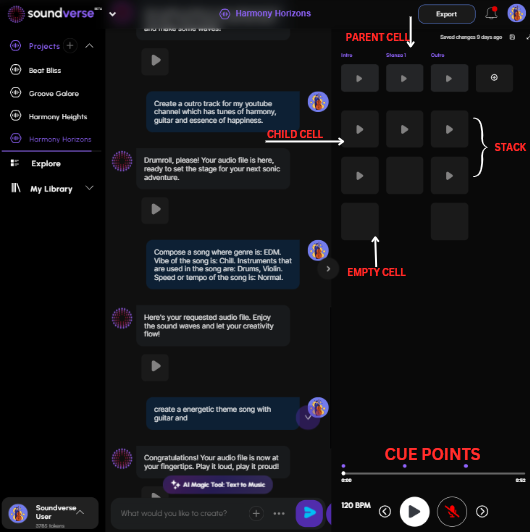
- Stack: A stack is a collection of cells stacked vertically.
- Cell: A cell is the smallest playable unit of Arrangement Studio. A cell can be played individually.
- Parent cell: The main cell at the top of every section under which all the child cell lies.
- Child cell: The subordinate cell under the parent cell, there could be multiple child cells under one parent cell.
- Empty cell: A cell where you can record, copy and paste or upload audio from your system in this cell. You can also select any one of these cells while adding audio to a specific column in the arrangement studio.
- Cue Points: The blue dots above the duration bar, represent the sections and connect them.
Controls
- Play/Pause button: These buttons are used to play/pause the audio in the arrangement studio.
- Left/right arrow: These arrows are used to shift the sections, i.e. use the left arrow to go to the previous section and the right arrow to go to the next section.
- Mic on/off button: This button is used to record your voice and add it to the arrangement studio. Turn on the mic button by pressing it to record and press the button again to stop the recording.